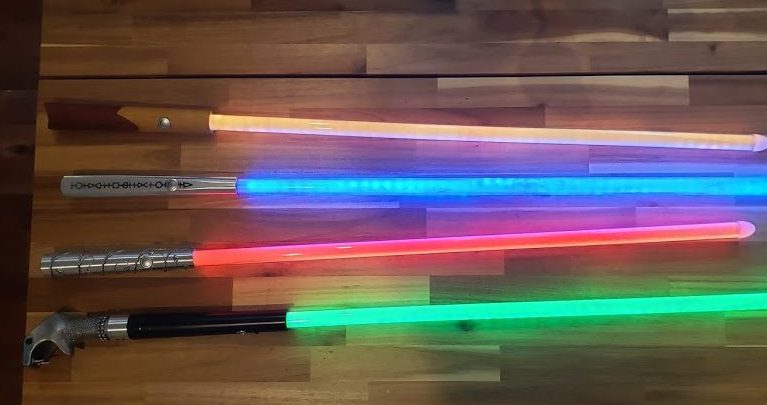
Yesterday I wrote about building the hilts for some lightsabers. That was less than half of the story. Today, my partner in crime, Topher, will fill in the details about making them glow!
I’ve built several lightsabers, generally going with parts from The Custom Saber Shop (TCSS) and using fancy boards to make sabers that go whoosh and flash and do all the fun stuff that people expect when they pick up a lightsaber.
The problem with all that fancy stuff is it’s expensive, it can be challenging for a beginner to approach, and none of those fancy bits do anything to enhance cosplay photos. So for this project, I approached the problem with three primary design criteria:
- Minimize cost
- Maximize battery life
- Optimize for photography
Right away, it was clear that sound, motion sensors, and flashing blades were off the table. I could dispense with these things as they do nothing for static photography, add considerable cost (typically over $100/saber), and suck batteries dry. But it also meant I was somewhat heading into uncharted territory; saber builder groups generally focus on the most and fanciest bells and whistles. Gone were the pre-fab options of various controller boards, as they all include sound systems, motion sensors, etc.
I first set out to explore how to get the best photography of a colored blade. Most sabers out there, whether built by the wielder or purchased from one of the many shops, use a battery, controller board, and super bright LEDs built into the hilt. Diffuser material (basically translucent paper) inside the plastic blade reflect light up the length to create a blade effect, and all color comes from either using colored LEDs or putting a colored filter on top of the LED assembly at the base of the blade. This generally results in a relatively cheap setup, but the problem is you have a single light source at the base of the blade, so the blade dims along its length. These blades also don’t generally hold up well in daylight. If you want anything but the plastic blade and diffuser to be seen in photographs, you need to go somewhere dark. Not ideal for casual pics on the con floor, much less a daylight photo shoot in Atlanta.
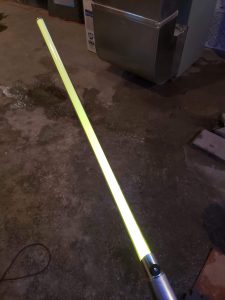
I’d recently been playing with EL wire for another project. These long strings or sheets of material can be powered with a few AA batteries to create glowing parts. They’re fairly cheap and I had a few lying around, so they went into the bucket-o-possibilities. As part of my droid building projects, I’d also recently been playing around with a newer technology called addressable LEDs. These are long strings or strips of small 3- or 4-element LEDs (generally RGB or RGBW pixels in a single tiny case) [FIGURE: A typical addressable LED], wherein each element in a string gets a unique ID based upon its position. This means it’s possible to (a) string a long chain of LEDs together, up to several meters, and (b) individually turn each one on, off, or alter its color on command with a simple bit of computer code. (Note: the generic term for these is WS2812B LEDs, referring to the common model number. They’re also popularly referred to as Neopixels, but this is a proprietary term from Adafruit that refers to their branded WS2812B product line. Not all facial tissues are Kleenex, but all Kleenex are facial tissues…). Not as cheap as EL wire, but infinitely more flexible (no pun intended). Into the bucket they went.
First tests showed that EL wire was adequate but not great. It does offer the advantages of being cheap and generating a uniform color up the length of the blade. However it’s not all that bright, and you’re stuck with a single color until you swap the EL material out. There are also limited color options available, so custom blade colors are few. Lastly, EL wire requires an AC supply, and cheap controllers generate a super annoying high-pitched whine while powered up. Personally, I couldn’t stand having a screeching sound coming out of my saber hilt every time it was turned on.
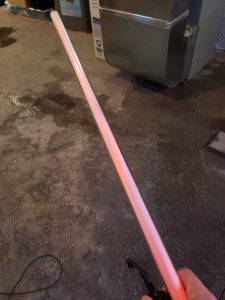
Lighstaber lit with EL Wire Photo by Christopher Hunter, used with permission.LED strips were where the magic happened. It was immediately apparent that this would offer a bright, uniform blade with virtually infinite color tuning ability. But could I control it with something that wouldn’t break the bank??
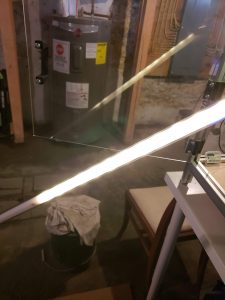
A single LED in the base needs just a battery to operate. EL wires come with their own little control box that I could’ve just broken open and crammed into the saber hilt. Addressable LED strips need a microcontroller to individually provide each element with instructions. Fortunately we live in a golden age of microcontrollers; head to any one of a number of online shops, and you can find an infinite diversity of controllers in infinite combinations. Based on previous experience with their products, I opted to look at Adafuit’s various offerings (for one thing they have nice guides on how to work with these things), ranging from the ridiculously cute Trinket through the ridiculously named ItsyBitsy, the ridiculously powerful for its size Metro Mini, and the just ridiculous Feather M0 Bluefruit LE. The first is the cheapest and simplest, and they step up in cost and computing power; the last one even added a Bluetooth radio in case I wanted to control the saber from my phone (Adafruit offers a mobile app with basic control, so I thought this could be a cool way to customize our blade colors).
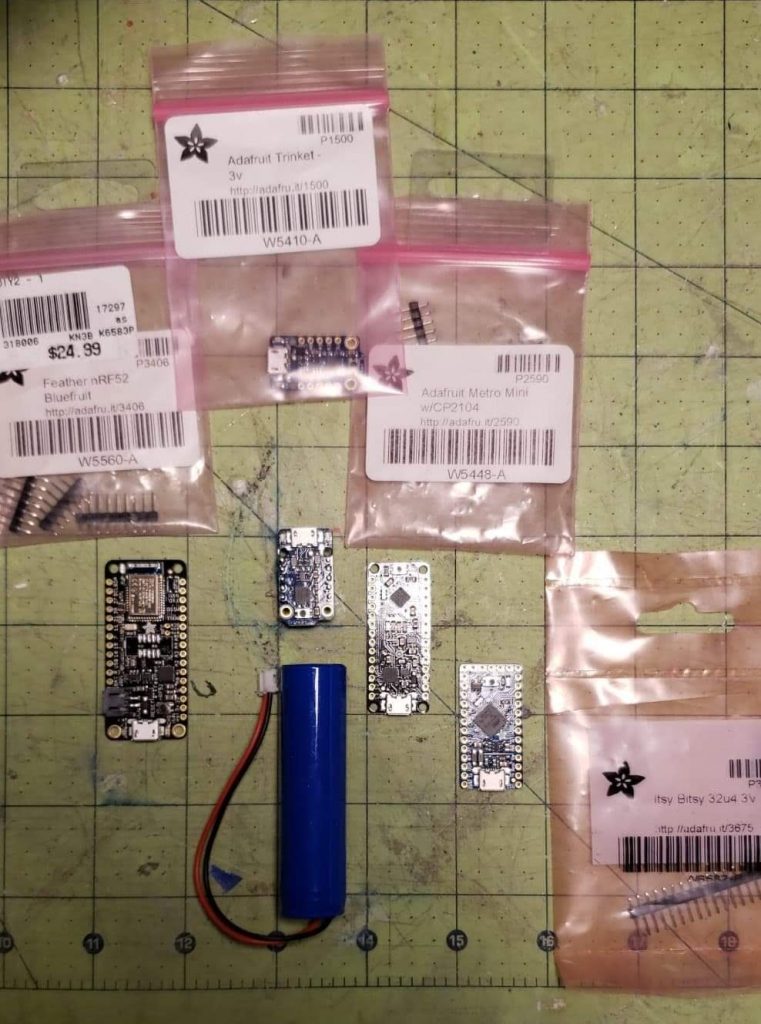
First up was to test the basic concept: could I power a meter of LED strip with a battery and my clumsy wiring and coding skills? Turns out I could, though it did cost me two strips burned out by user error. I was always pretty good at letting the magic smoke out of circuits in high school, and it appears that I haven’t lost my touch in 25 years. However I eventually managed to get it right.
This had been achieved with just a $10 battery, $7 Trinket, and $25 Neopixel strip. I could save a lot by going to eBay or Banggood and buying WS2812B LED strips in bulk from China, down to about $5 each (note I opted for 60 LED/m strips, which are middle range; lower density created too wide a gap between pixels so the blade wasn’t uniform, and higher density would double battery draw). I could also save on the blade hardware by buying polycarbonate tubing in bulk from McMaster-Carr (I went with thin-wall tubing since I wasn’t sure how well everything would fit; in retrospect I could’ve used thick-wall for a sturdier blade) and scavenging foam packing material for the diffuser. My low-cost design was within reach. I did eventually upgrade from the Trinket to the ItsyBitsy 3V, because the latter offered a way to charge the battery via the micro USB port. This also meant we could quickly change the saber’s code to adjust color or LED behavior but just plugging into a laptop. Lastly, I had to add a switch and some wire, and decided to design and print a chassis to keep everything from flopping about inside.
A note on the switch. I broke my cost rule on these, but Ryan’s hilts were just so pretty that I had to go with the expensive satin finish metal pushbutton style, when a $0.15 rocker would have easily done the job. We had also shot ourselves in the foot by making the hilts just barely large enough to hold the 1-inch blade; this meant a long switch could short itself out on the far wall of the hilt, so I had to find a very short switch. Just make sure you get a latching switch (which goes on/off with each click) as opposed to a momentary switch (which is only on while being held down!). The good news was that the LiPo backpack has a neat little panel where you can solder the switch, so looping the switch wires inside the hilt was much simpler.
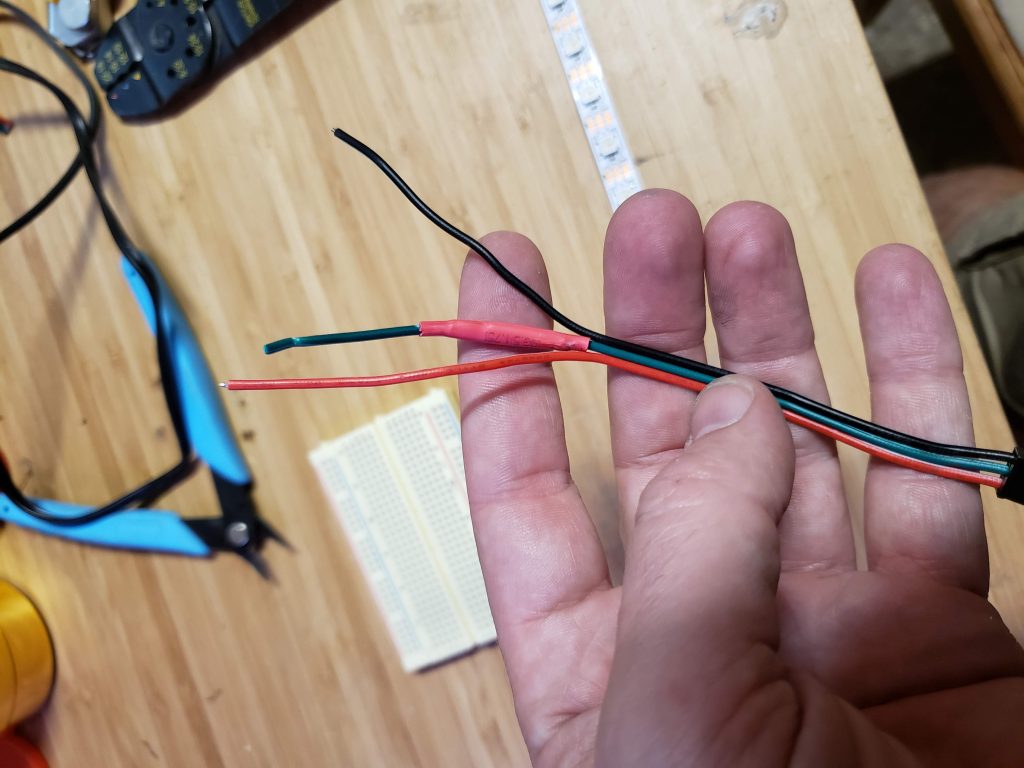
The one tricky bit is that the power-on sequence for most controllers fires a spike of power down the line. This can damage the LEDs, so it’s important to put a
small (~300-500ohm) resistor on the data line before the first element. I opted to shorten my data wire and replace a segment with the resistor wrapped in a short length of heat-shrink tubing.
Final assembly was straightforward. Mount the LiPO backpack on the ItsyBitsy with the provided pins, attach the battery and LED cables (I used connectors for everything, so a bad part could be quickly swapped out or an extension added; you could save a little money going with simple wires alone). Once mounted onto my chassis and held in place with a spot of E6000 or similar, I wrapped the end with the bare pins in a short strip of electrician’s tape to make sure they didn’t short out on the hilt body. Connecting the switch was probably the worst part, as I had to slide the chassis in from the blade end, gently work it down the hilt until I could grab the switch connector through the switch hold, and pop the connector in place. Then I slid the chassis the rest of the way to its home and placed the switch in its socket with a drop of glue (I prefer E6000 or similar for this project, as it can be removed, provides insulation on any wire it touches, and doesn’t etch plastics like cyanoacrylate (“Super”) glues do (see later).
The controller code was created by taking several LED strip programs I found and mashing together the bits I liked. With a simple toggle in the code I could set a solid color, two-color pulse, epileptic-fit inducing ‘theater chase’ effect, or a fun crawling rainbow. The code was loaded onto each board with the Arduino IDE application and the hilts were ready. Time to build some cutting blades.
The Blades
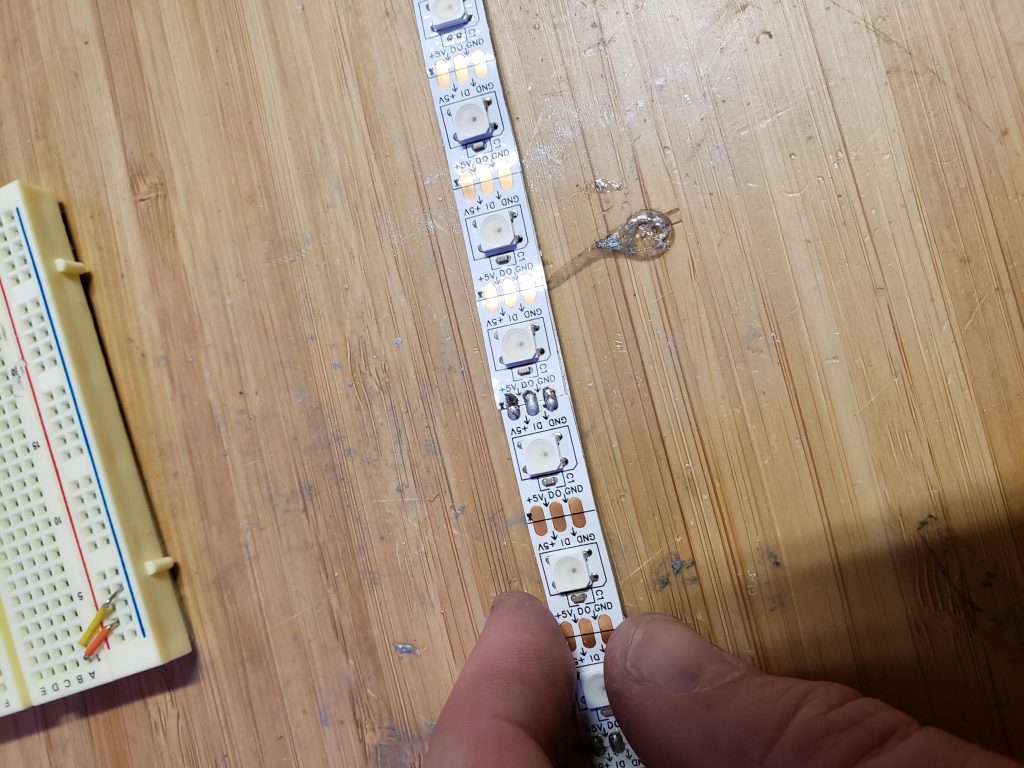
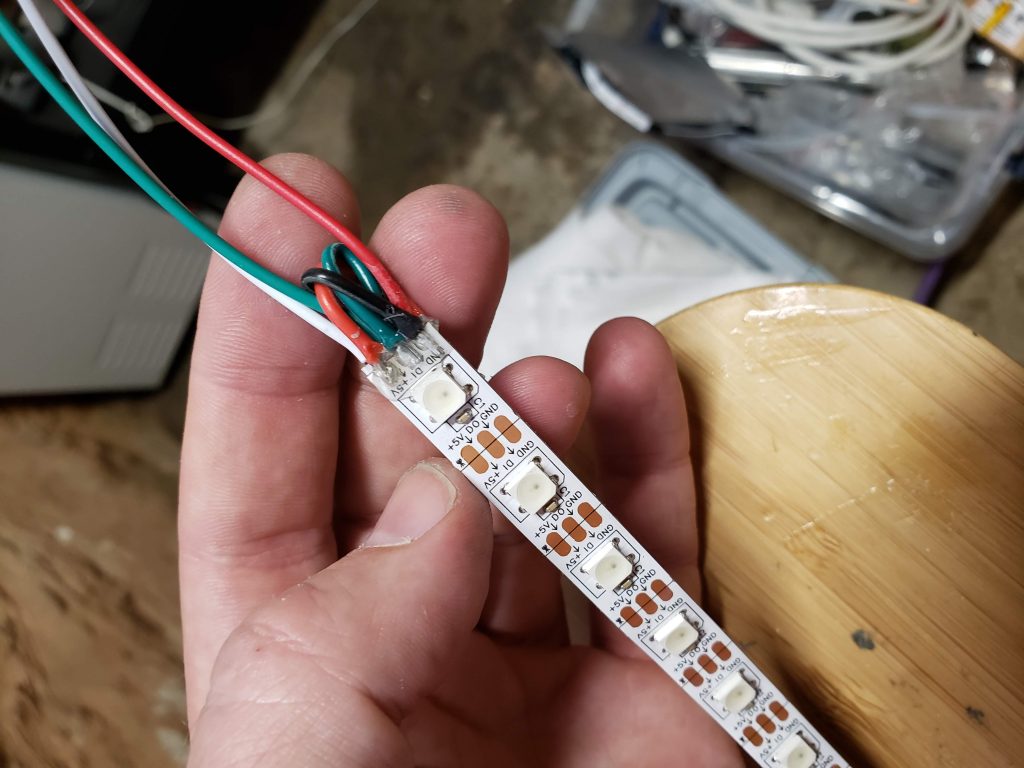
To achieve the optimal appearance of the blade without the constant concern of camera-facing sides, it’s recommended to laminate two LED strips back to back. Most strips come with a pre-mounted adhesive strip, alleviating any worries. Between each pixel, there’s a set of conductor pads carrying +5V, data, and ground signals. Crossing two strips back to back could potentially create a short from +5V to ground. Fortunately, the adhesive dots provided with the strips appear to be insulating, allowing for a secure attachment of the two strips. A minor soldering task at the input end is needed to connect the sets of pads, considering they are now mirrored, requiring the creation of a small X-shaped wire junction. The strips are conveniently labeled with arrows indicating the controller connection end; the opposite end, pointed to by the arrows, should be left free. After attaching the joined strips back to back and wiring them with a short 3-strand JST connector, everything is set up and ready to go.
At last everything was ready. I wrapped the LED strips in roughly 6” of packing foam and rolled 8” wide strips of vellum into the blade tubes. The polycarbonate tubing was cut down to appropriate lengths with a pipe cutter, making clean straight ends. The wrapped LEDs slid nicely into the lined tubes, and the bullet tip was attached. A quick joining of the JST connector, a deep breath, and slapping the switch resulted in…
Now you might notice that one blade looks a little different–it has a short blunt tip and a slightly mottled appearance. This is an old TCSS blade that I had used for another project previously, and unfortunately I was an idiot. Cyanoacrylate glues emit vapors for several hours after curing, and these vapors can etch plastics such as polycarbonate. So the key lesson here is: NEVER USE ‘SUPER’ GLUES NEAR SABER BLADES! (Unless you want it to look mottled and funky. In this case, I figured the character in question would probably have a beaten-up saber, so it worked fine.) I used Gorilla Glue’s Clear Grip, which is very similar to E6000 in behavior.
Total bill of materials for the finished sabers ended up as:
| Adafruit ItsyBitsy 3V | Adafruit | $10 |
| Adafruit LiPo backpack | Adafruit | $5 |
| Battery, 3.7V 2200mAh | Adafruit | $10 |
| Latching switch | Digikey or Mouser | $14 |
| 2-strand switch connectors and 3-strand blade connectors | Amazon, Digikey, Mouser, etc. | $0.50/saber |
| Resistor, 470ohm | Many, many places | Individually, essentially $0 |
| WS2812B LED strips, 60/m | eBay, Banggood, etc. | $4/m |
| Polycarbonate tubing(I suggest getting a pipe cutter like this one from your local hardware store) | McMaster-Carr | $16/8 feet |
| Blade tip | The Custom Saber Shop | $6.50 |
| Packing foam diffuser material | Ikea | Expensive, but comes with free furniture and giant boxes for the kids or cats |
| Vellum diffuser material | Amazon | $12/5 yards |


