Over the years, I’ve attempted to sit down and learn Blender on several occasions. (The open-source 3D modeling app, not the kitchen appliance. I already know how to use one of those.)
The problem I kept running into is that, when you first open the app, it looks like this:

OK, it just feels like that. It actually looks like this:
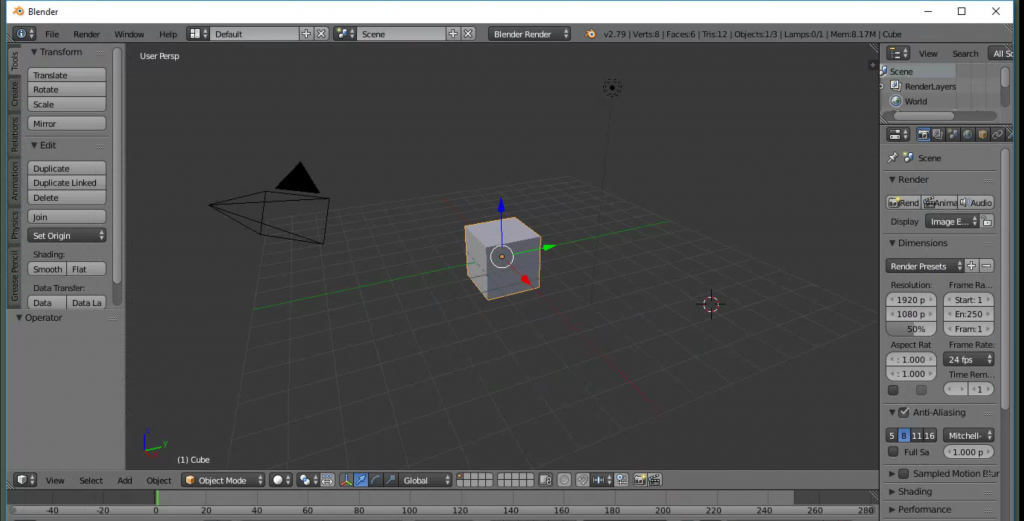
…which, frankly, isn’t much better.
This spring, I had a few days off and a bit of spare time, so I went looking for a beginner’s tutorial. I found this one.
It’s an extremely good tutorial. They go through the basics of what parts of Blender you need and, more importantly, what parts you can (initially) ignore. I took copious notes on hotkeys, techniques, shortcuts, etc.
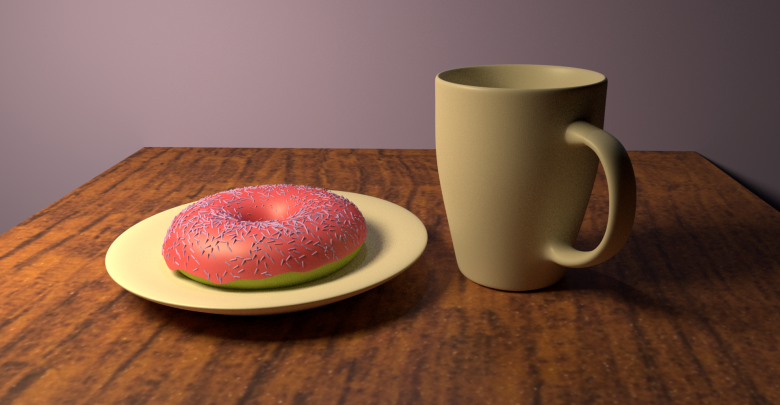
It took me two days to get through the series of videos but, by the end of it, I was able to make this:
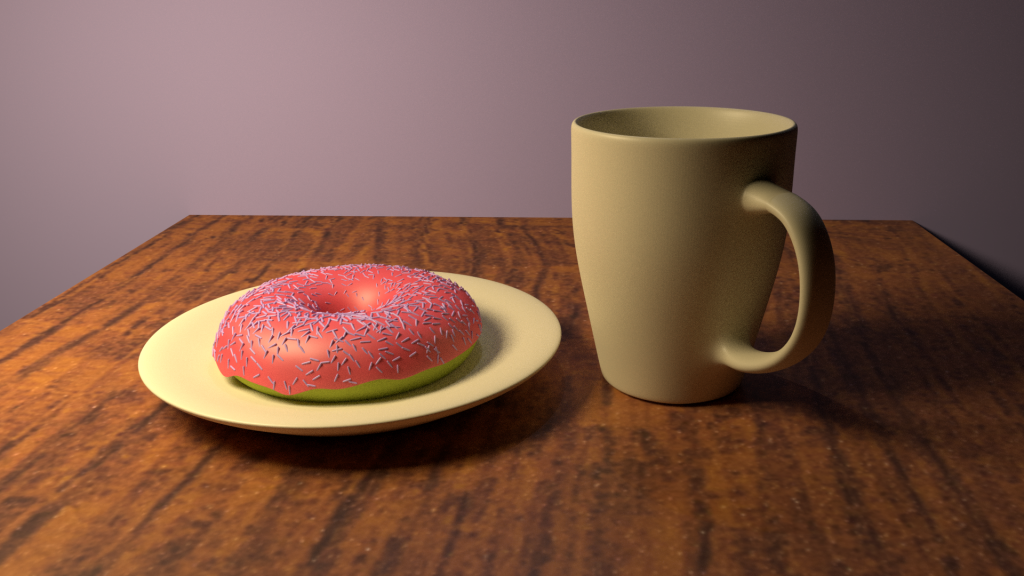
It turns out that Blender Guru’s video series is considered a rite of passage for learning Blender. The internet is filled with images of coffee and doughnuts created by graduates of the tutorial.

A couple days after making the coffee and doughnut, I got as far as this:
I’m not sure what happened near the end of that animation. I think I ran out of “space”.
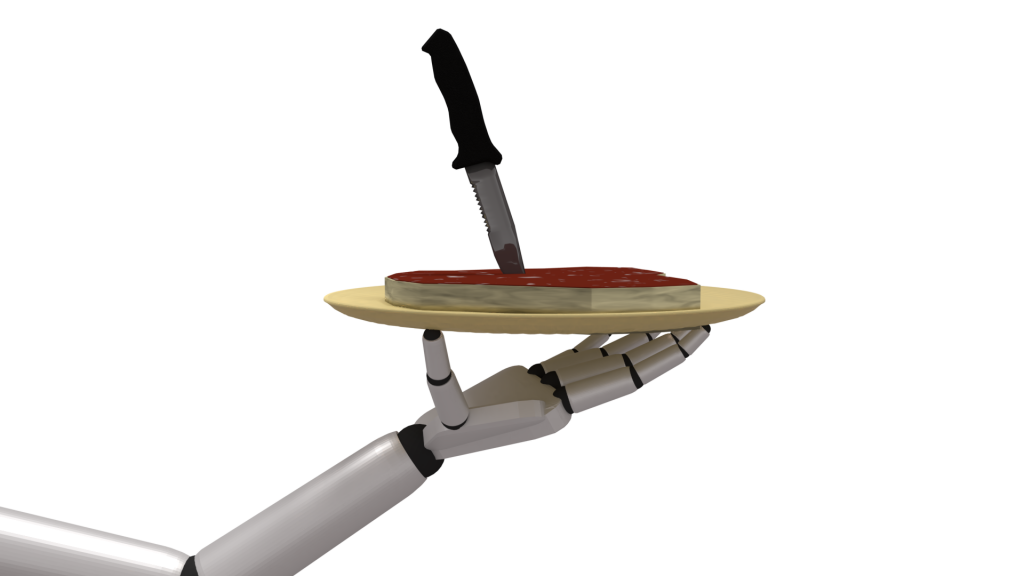
Once I got the basics down, I found it a lot easier to navigate the maze of menus, buttons and keystrokes. I’ve started creating cover images for Story Time, for example.


Like I said, though, the initial learning curve was a real pain. If you’re interested in doing some 3D modeling, and Blender in particular, Blender Guru’s tutorial is a great way to get you past that first stumbling block.
Just follow the step-by-step instructions, and you too can make a vaguely realistic image of a coffee cup and doughnut. Imagine the possibilities…


