In part one of my guide to seed starting, I taught you how to choose seeds, plants those seeds, and tips for a successful germination. Assuming you followed all the steps, you now likely have some tiny shoots coming up through the soil. Now your job is to care for your seedlings and train them for the outside environment where they will eventually be transplanted.
Your plants have germinated. Now what?
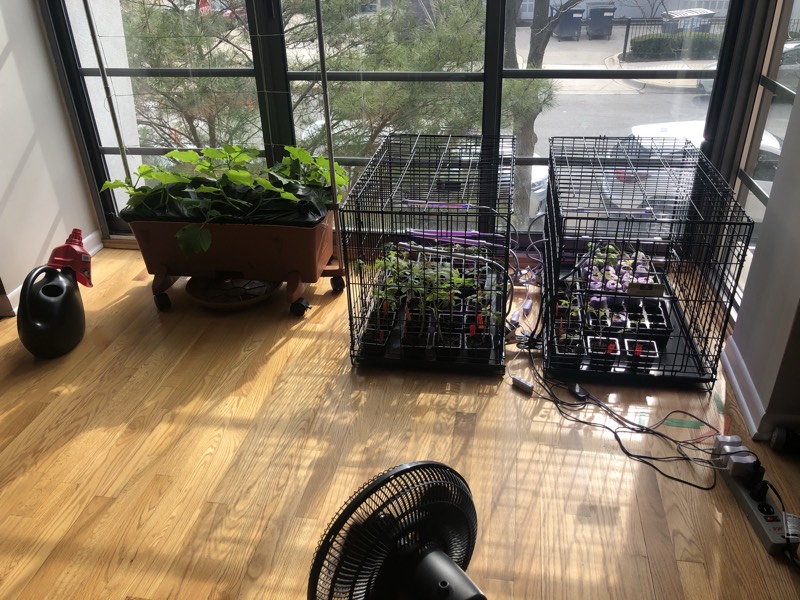
You may have been keeping your plants in a dark, warm location for germination, but now that they have some leaves, they are going to be starting photosynthesis soon and will need light. If you have a warm, sunny location in your home, move the plants there. However, even if you have a sunny indoor location, it’s still recommended that you use grow lights with your plants.
Plants without grow lights will stretch towards the window, becoming “leggy” with long, thin stalks. If you later transplant them outside, their stems could break in the first big storm. In order to encourage them to grow shorter, fatter stems, position a grow light a couple inches above the plants. You can buy grow lights at hardware stores or on Amazon. Simple grow light bulbs sell for as little as $8 which you can attach to a simple desk lamp. There are also grow lights for $20-40 that come as a full lamp and typically are bendy and versatile. Whatever type of plant set-up you have in your home, there are grow lights that will work for you. You don’t need to get a light with a high voltage. Just make sure that you are turning it on in the mornings and off in the evenings because plants also need some down time from the sun. Once you set up your grow lamps, you’ll notice that your plants will grow straight and stout instead of bending towards the window.
If you live in a location that is windy, like I do in Chicago, it’s also a good idea to train your plants to deal with wind. In their first weeks of life, your seedlings are trying to figure out what type of environment they are going to be in and adapt accordingly. However, they don’t know that their current environment is only temporary and they will one day graduate to the outdoors. Growing up indoors, seedlings may think they live in a place where they will never feel even a breeze, so they don’t need to put their energy towards strong stalks. Eventually when they are put outside, they might not be able to withstand the strong winds.
Let your plants know that they will need to build strong stems that can withstand high winds by hooking up a small fan to blow on them during the day. Don’t go crazy with the fan though, because they are still tiny, delicate seedlings. Position the fan far enough away that the plants are getting enough of a breeze to sway slightly. Like the grow lights, you can turn the fan off at night to give your plants a break.
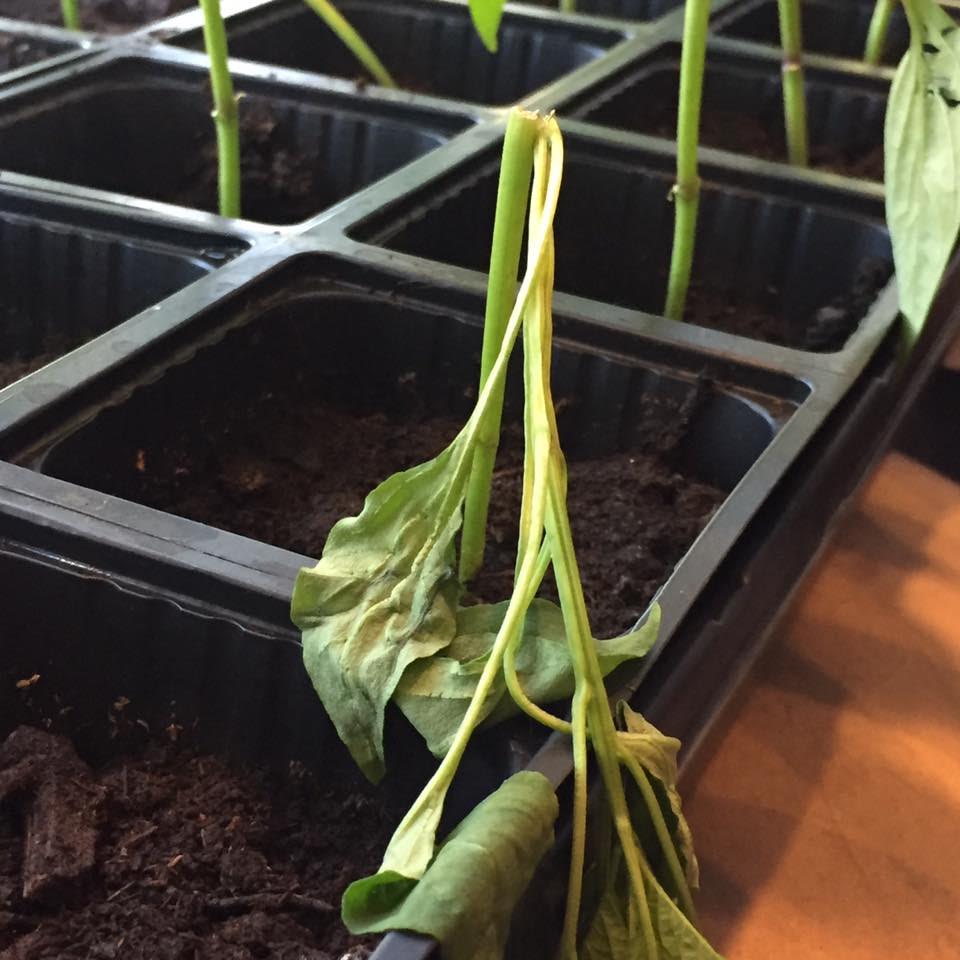
Make sure you water your plants whenever their soil starts to feel dry. It’s best to water from the bottom by putting water in their tray rather than watering from the top. The first leaves your seedlings have are only starter leaves. Eventually your seedlings with start to grow their first set of true leaves. The true leaves will look like the actual leaves of the type of plant you are growing. Once they’re first set of true leaves come in, it’s a good idea to start adding a bit of liquid fertilizer to their water and it’s now time to thin.
Remember back when you planted seeds, I told you to plant 2-3 seeds per pot? This was to make sure you got at least one good germination in each pot. However, it also could mean you get multiple germinations. Once they have their first set of true leaves, it’s time to play Darwin and destroy all but one germination in each location in order to give the survivor a better opportunity to survive. Go through each pot and choose the best looking seedling and cut off the other seedlings at their stem. It may seem cruel; You did grow these tiny little seedlings from birth, but it has to be done in order to ensure the survival of the best seedling.
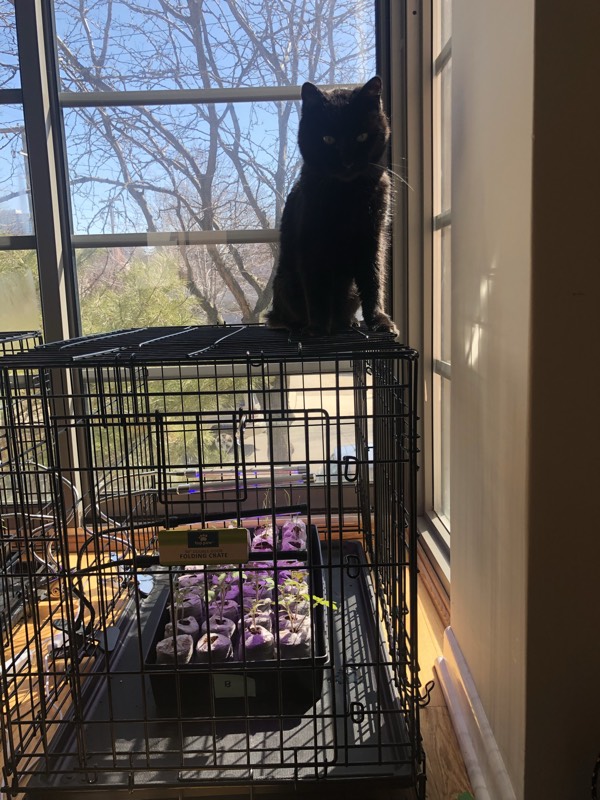
If you have a pet such as a cat, as the seedlings get larger they might start to attract their attention. My cat tends to be super fascinated by our plants and wants to rub his face all over them. Unfortunately, the seedlings are often so fragile that this excessive cat love will break their stems. Last year I lost many a seedling due to cat face rubs. This year we decided to protect the plants by ironically buying dog cages for the plants. Dog cages were the perfect size to put all our seedlings in, not to mention that the cages are perfect for attaching grow lights to and it’s ok if they get a bit wet. It’s a bit annoying to water and inspect the plants in the cage, but that annoyance is offset by the fact that our cat was not able to destroy even one seedling this year.
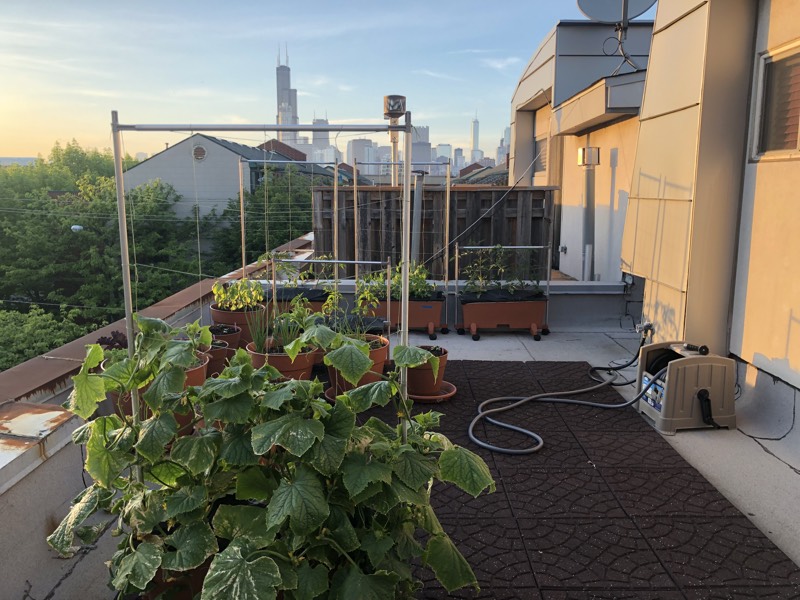
Your plants have been growing well and it’s now time to move them outdoors!
The weather is getting warmer, which means it’s time your plants graduate to the outdoors. Cold weather crops can be transplanted sooner because they can withstand a few frosts. Hot weather crops should not be moved outside until there is not longer a risk of frost. If you move them out too early and there is an unexpected overnight frost, make sure to cover them to protect them, otherwise you might wake up in the morning to some dead plants.
Before you put the plants outdoors, they need a short trial period. The outdoors is a much harsher environment than they have seen so far, and they will need a short period to get used to it. A week before they will be transplanted outside permanently, start hardening them off by giving them trial periods outdoors. Start with just a few hours (preferably in shade) the first day. Gradually increase the time outdoors and move them into full sun over the course of the week. By the end of the week, they will be ready to be transplanted.
This year I didn’t plan well enough and ended up skipping the hardening week and just moving the plants outdoors full-time. Many of my plants did not do well at first, getting sunburnt leaves or struggling in the winds. They seem to be recovering now, but they likely would have done a lot better from the get-go if I had bothered to do the hardening week. Next year I will plan better and make sure I give them a full week to acclimatize them slowly to the outdoors before moving them permanently.
Once your plants have been hardened, it’s time to transplant them to their new home. For all non-tomato plants, dig a hole the size of the small pot they are currently in. Mix a bit of fertilizer into the dirt under the hole. Carefully remove your plant from its temporary pot. It should come out easily and be “root bound” with the roots filling the full space where the pot once once. Carefully use your hands to loosen the roots, then put the plant into the hole you made. Make an indentation around the base of the plant (this will lead water to its roots) then water it. Your plant may look a bit scraggly at first, but in a couple days it should acclimatize well to its new home.
Tomato plants are a bit of a special case. If you look closely at the stem of a tomato plant, you’ll note that it looks fuzzy. That’s because tomato plants have the special super power to grow roots at any point along their stem that is buried. To transplant a tomato plant, dig a much deeper hole than the size of your temporary pot and put some fertilizer in the bottom. You can make it as deep as about two thirds of the size of your tomato seedling. Cut off the stems that will be buried, then bury your tomato plant with only the top third or so of the plant sticking out. If you are planting your tomato plant in the ground, you can also plant it on its side by making a trench then burying all but the top bit of the plant. In a couple days, the part that is out of the soil will bend to face straight upward. Once your done planting, make the same indentation around the base of your plant as you did for your other plants and then water it.
Congratulations! You have now successfully taken a teeny tiny little seed and create life from it, then raised that life to a point where it can now successfully live outdoors and hopefully provide you with delicious fruits and vegetables for the coming season.


